
For projects that have a source defined as 'CSV' there is no connection to a server that will provide the data. Instead, the user must configure each csv file that they wish to use in the project.
Note: if you have extracted data from Zendesk using the Zendesk Extraction Utility then you can use the Precision Bridge CSV Zendesk template for loading this data into ServiceNow.
The only point at which CSV Files can be configured for use is while the project is being opened (or first created) You must configure at least one CSV file for use, but there is no limit to how many you configure in total. However since the csv file definition is validated against the actual files before the project is opened, having a vary large number of files can lead to a slight delay when the project is opened.
Depending on your requirements, you have 2 options on how to select the files you wish to use:
- Select each file individually by browsing to it. This gives maximum flexibility for selecting files, however if at a later stage you move some or all of the files to other locations, or want to re-point the project to different data, you will need to individually repoint each csv file you have defined.
- Choose a 'Root' directory This is the best practice option. The cdirectory where all csv files reside will be selected. Using this method, it is easy at a later date to re-point the project to a different set of data by simply changing the root directory. Note however, that the use of sub folders inside the root directory is not curently supported.
Configuring Source Files
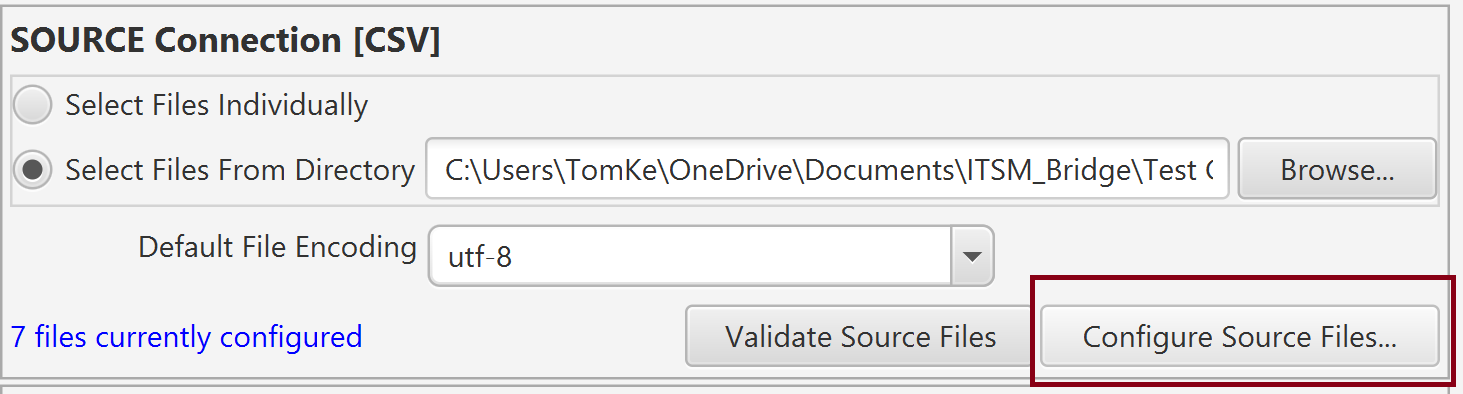
Click the 'Configure Source Files' button in the CSV Connection section:
This will open the CSV Definition Editing Dialog
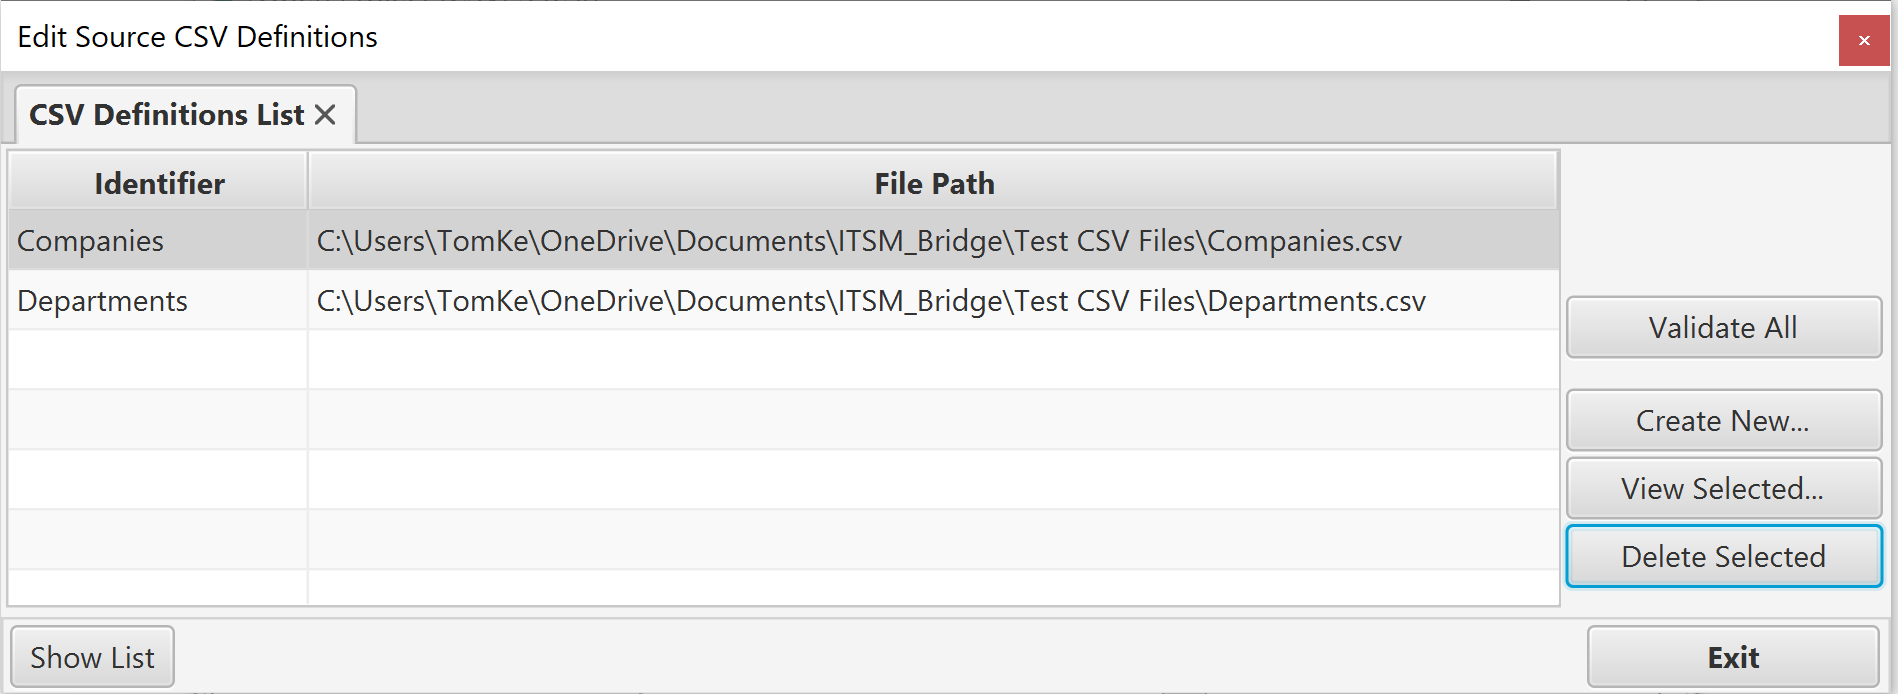
The list will show all the CSV Files that have already been configured for use. You can double click the row to open the CSV definition in a separate tab. to delete a definition, select it in the list and then click 'Delete Selected'.
The 'Perform Validation' button will check each definition against the file it is configured to use. Any issues will be shown in a dialog. Note that this function does NOT check that the data is in the format you have specified in the definition, only that the file exists, is readable, and has all the expected columns and header row values.
Creating a New CSV Definition
Click the 'Create New...' button. A new tab will be opened:
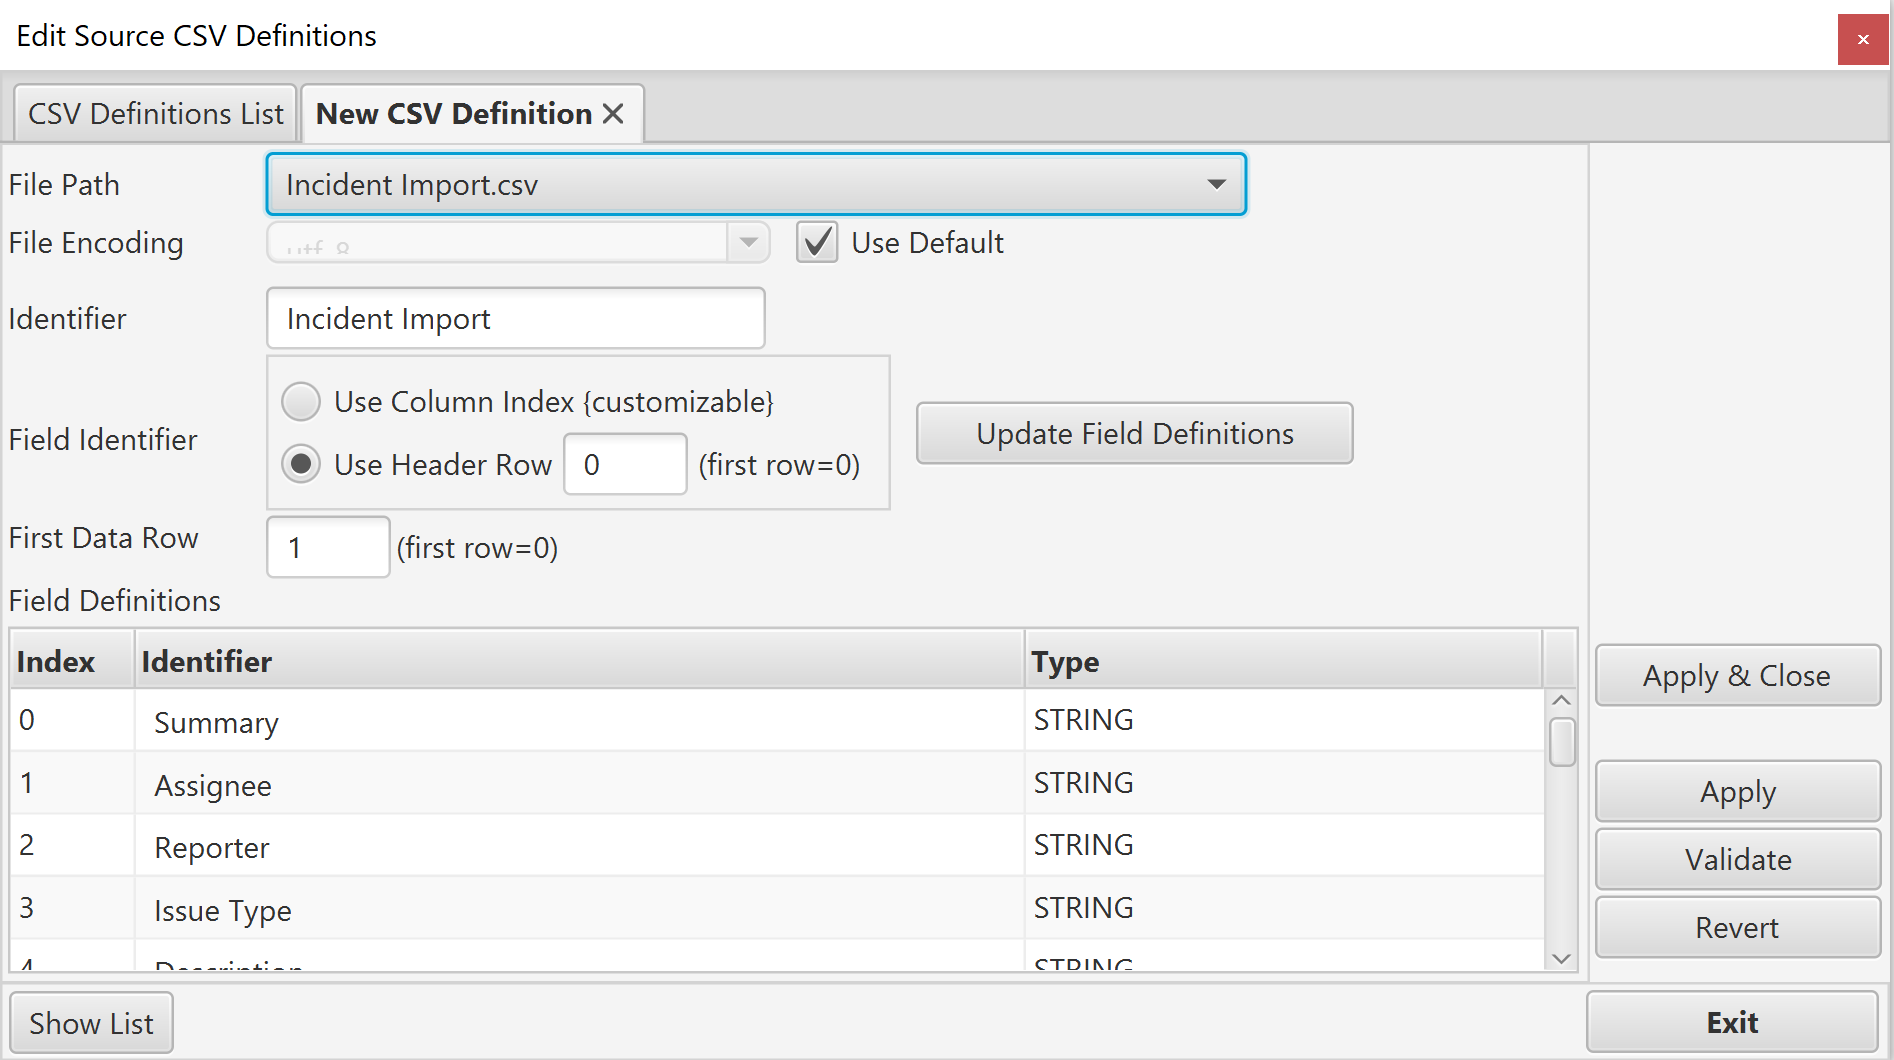
If you are selecting files individually, use the Browse... button (not shown in the image above) to select the csv file. If you are selecting files from a root directory (as in the image above) select a file from the dropdown list.
Once a file is selected, the identifier will be set to the file name and default field definitions will be generated. If the first row in the file has a full set of unique values, it will be assumed this is a header row and the field definitions will be based on this row. If this is not the case, field definitions will be created based on the column index.
In the image above, a header field has been identified and the field identifiers are defined from this row. Initially, all fields are defined as strings.
If there is any error shown when the file is selected, check the following:
- The file is readable
- The file is actually encoded using the file encoding selected
- The file has valid csv formatting (comma separated values, line feed delimited rows, use of double quotes to delimit values must be used if they contain either a comma or linefeed)
- All rows in the csv file have the same number of values
Customising the CSV Definition
By default, the identifier matches the filename. However you are free to edit this to any value that is unique within the set of CSV definitions for this project.
You can change how field definition identifiers are defined for each column. There are 2 options:
- Use the Column Index. Each field definition will be given a unique identifier based on the column index in the csv file. For example Col 0, Col 1, Col 2. It is recommended these are manually changed to more meaningful identifiers (see Customising the Field Definitions Below)
- Use a Header Row. Often, csv files have a header row that identifies each column. If this option is used, you will not be able to customise the identifiers, they will always be read from the header row. You must also enter the index of the header row in the file.
To apply changes to how the field definitions are identified, click 'Update Field Definitions'. The field identifiers will be updated.
You can also change the index for the first data row. Usually files either have a header row (row 0) followed by data rows from row 1, or alternatively no header row with data rows starting from row 0. However, if your files have additional non-data rows preceding the data you will need to change the first data row index.
Customising the Field Definitions
If column indexes are used, you are recommended to update each field identifier to a more meaningful value. To do this, simply overwrite the identifier in the table. If a header row is used, you cannot update the identifiers.
By default, all field definitions are given the type 'String'. However when migrating data, or using these values to in filtering or searching it is usually easier(and sometimes necessary) to provide an accurate data type so that Precision Bridge understands how to handle the values. There are 6 basic types:
| Type | Notes |
| STRING | The default. Value is interpreted literally as a string |
| NUMERIC | The value is interpreted as a numeric value (integer or decimal) |
| BOOLEAN |
All values must be a recognised Boolean value (true, t, yes,y,1 are interpreted as 'true'. false, f, no, n,0 are interpreted as 'False') |
| DATE |
For this type, the user must provide the exact format string to be used to parse the value into a date. |
| DATETIME |
For this type, the user must provide the exact format string to be used to parse the value into a date and time value. Use of timezones is supported, otherwise UTC will be assumed |
| TIME |
For this type, the user must provide the exact format string to be used to parse the value into a time value. |
To change the type, right click on the field type cell in the table and select the required type.
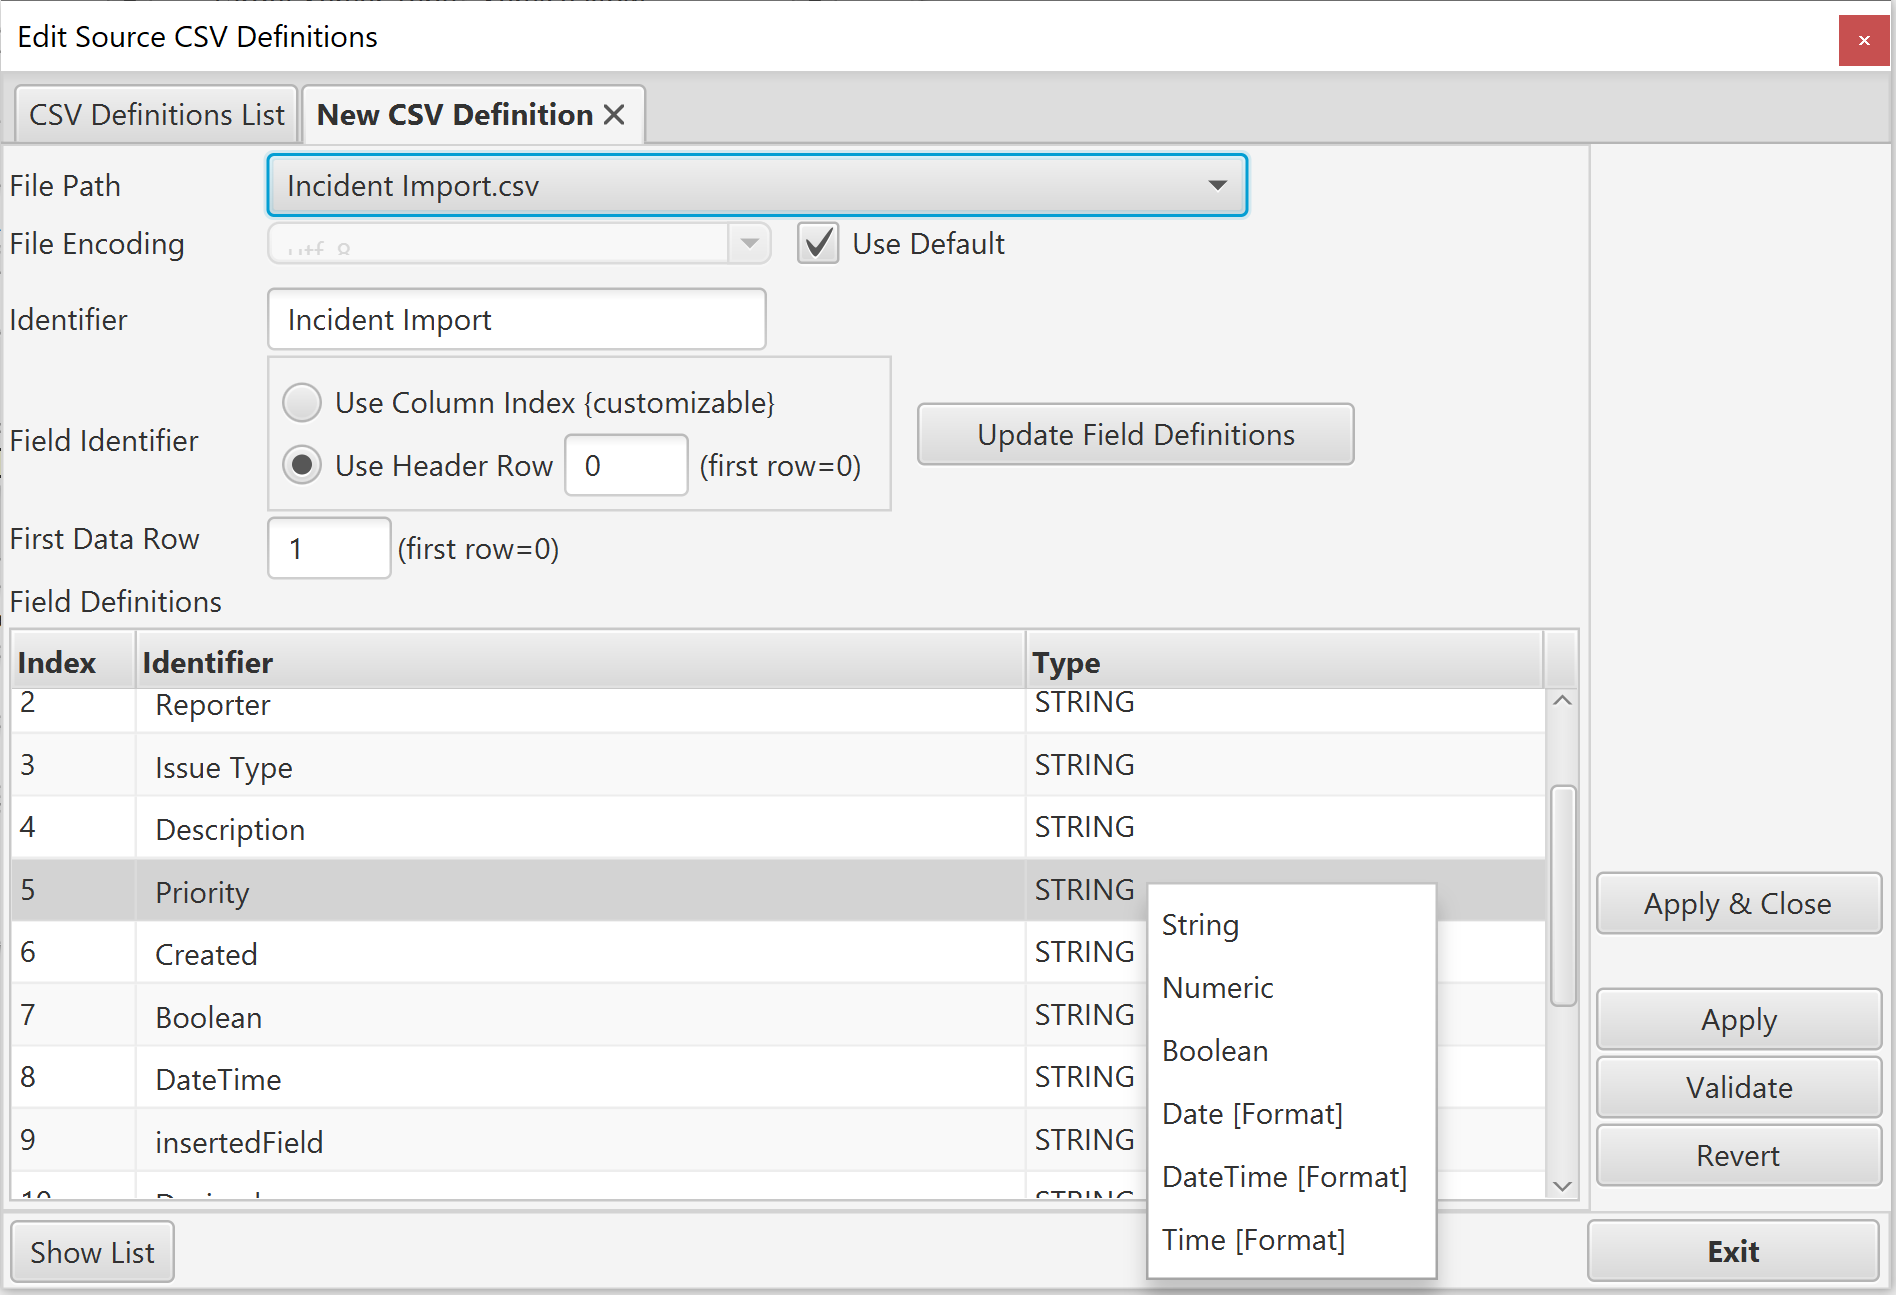
If you select a Date, DateTime or Time type, you will be prompted to select a format string:
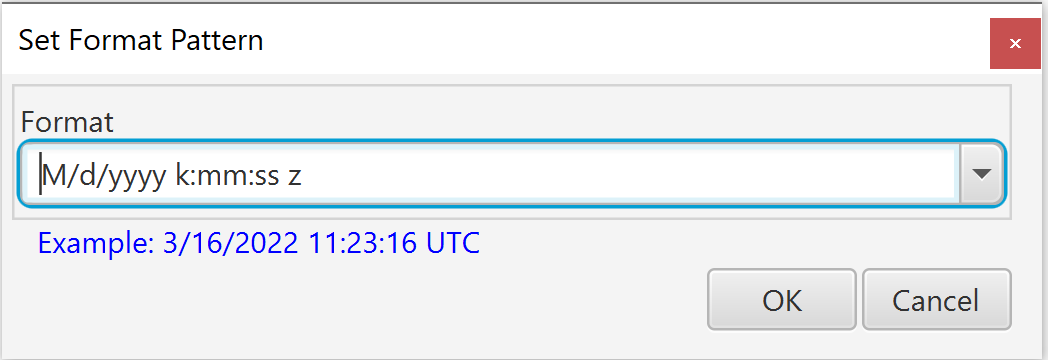
You can either select a format form the list of common format strings, or type it manually. Be sure that the format you select exactly matches the values in the column. If a value cannot be parsed using this format, errors will occur at execution time. Note that ALL values in the column MUST use this format to be successfully retrieved and processed as date/time values during migration.
Applying Changes
Once you have made the customisations required, click 'Apply Changes'. 'Apply and Close' will save your changes and close the tab, showing the list of CSV File Definitions once more.
Once you have finished adding or editing all required CSV File Definitions, click 'Exit' to return to the Project Properties screen, from which you can open your project and begin configuring the form mappings required for migration.
An overview of the process of creating mappings, specific to CSV File migrations, is given in section Overview of Creating Form Mappings for a CSV Source Migration Project
Comments
0 comments
Please sign in to leave a comment.