
RSA Archer can be used as either a Source or Target Server (subject to Licencing).
To use RSA Archer as the Source Server, select RSAArcher from the Source Server Type dropdown.
To use RSA Archer as the Target Server, select RSAArcher from the Target Server Type dropdown.
The connection details will be displayed and must be completed as follows:
Login URL: This is the URL of the RSAArcher directory. Typically it is of the form:
http:/<archer server name or ip address>/RSAarcher
Instance Name: This is the name of your Archer instance
User Name: Your RSAArcher username. This user should have either the System Administrator role or roles with read/create/update access to all applications or questionnaires you are looking to migrate to/from. Note that RSA Archer will not allow the same user to be connected to the RSA Archer UI and via Precision Bridge. Therefore it is stongly reccomenced to create a user account specifically for Precision bridge to use.
Password: The password for this user.
The User Domain field might also be required if you are connecting with a non-administrator user.
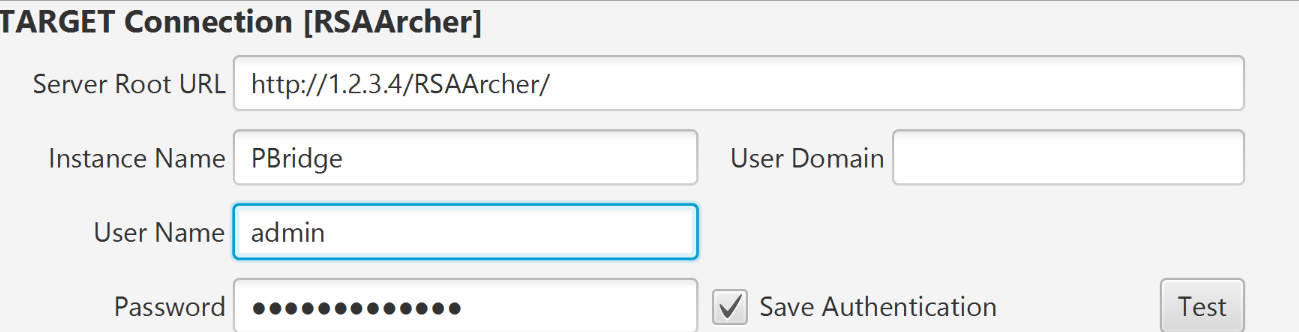
If you want to retain the login details, select the Save Authentication option. After selecting this option, the username and password are stored and do not need to be entered again the next time you open the same project from the same client machine. Otherwise you will need to re-enter them each time you open the project.
In order to check that the relevant servers can be accessed using the credentials provided, click on the Test button on the right for each connection.
If the selected server is reachable then a confirmation message will be displayed. If the server is not reachable then a failure/timeout message will be displayed. Correct the Instance URL, Instance Name, User Name and Password and try the test again. If you are still unable to connect, check that the same connection details and credentials can be used to access the instance using a browser.
Comments
0 comments
Please sign in to leave a comment.